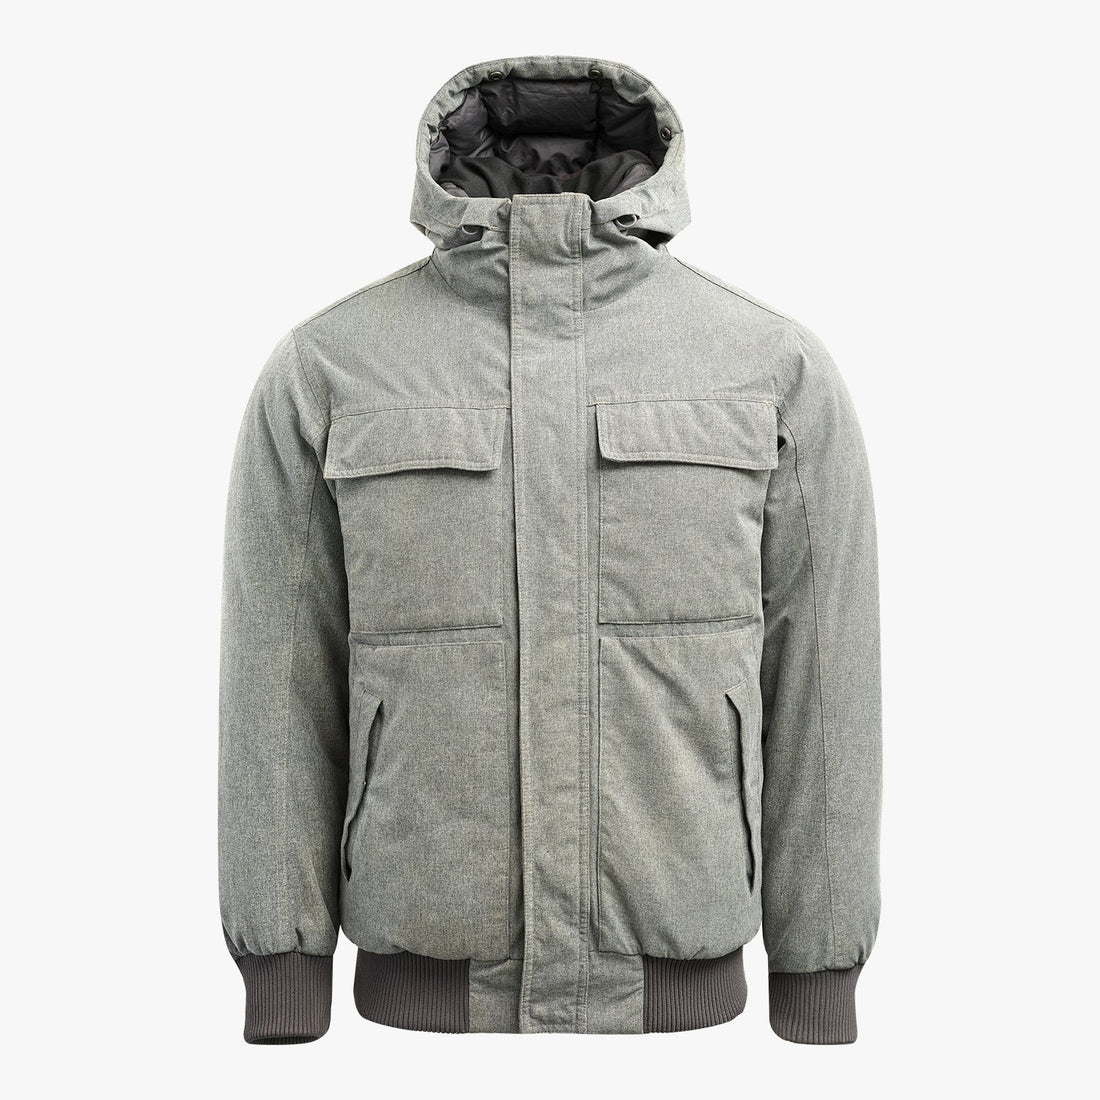
Ghost Mannequin Photography: A Step-by-Step Guide
In today’s competitive eCommerce landscape, high-quality product photography is essential for attracting customers and increasing conversions. One powerful technique that has transformed the fashion industry is ghost mannequin photography—a method that creates a 3D effect, allowing customers to visualize fit, shape, and texture more accurately.
While high-end brands like Louis Vuitton and Saks Fifth Avenue have long used this technique, fast-fashion brands are also adopting ghost mannequin photography to enhance their product presentation and stand out in a crowded market.
In this step-by-step guide, you’ll learn how to capture professional ghost mannequin photos that elevate your brand identity and drive higher sales.


Step 1: Equipment & Studio Setup
Before you start, ensure you have the right tools to achieve high-quality results:
✅ Camera: Use a DSLR or mirrorless camera with manual settings for maximum control.
✅ Tripod: A sturdy tripod ensures stability and keeps angles consistent.
✅ Lighting: Use softbox lights or natural lighting to eliminate harsh shadows.
✅ Backdrop: A plain white or neutral backdrop keeps the focus on the product.
✅ Editing Software: Adobe Photoshop or Capture One for post-processing refinements.
Step 2: Choosing the Right Mannequin
A ghost mannequin with removable parts is essential for achieving the floating effect. Look for:
✔️ Detachable arms, neck, and chest inserts to capture inner and outer layers separately.
✔️ A mannequin that fits your hoodie well to prevent distortion.
✔️ A neutral color mannequin to avoid color reflections on the fabric.
Step 3: Preparing the Hoodie
Before shooting, make sure the hoodie is in perfect condition:
🔹 Remove wrinkles by steaming or ironing.
🔹 Check symmetry—align sleeves, cuffs, and hem properly.
🔹 Remove distractions like tags, lint, and loose threads.
A well-prepared product results in less post-editing work and higher-quality images.
Step 4: Positioning & Camera Angles
Proper positioning is crucial for a clean, professional look. Follow these best practices:
📸 Front Shot: Place the camera at eye level with the mannequin for a natural look.
📸 Side View: Capture the profile view to show hoodie depth and structure.
📸 Back View: Display logo placement, seams, or hood details.
📸 Close-Ups: Focus on fabric texture, stitching, zippers, or drawstrings.
💡 Pro Tip: Maintain consistent framing across all images for a professional catalog look.
Step 5: Capturing the Perfect Shots
Now it’s time to start shooting:
✅ Use a low ISO (100-200) for sharp images with minimal noise.
✅ Set aperture (f/8 - f/11) for deep focus on product details.
✅ Adjust shutter speed based on lighting—avoid motion blur.
✅ Take multiple shots at different exposures and angles for variety.
💡 Pro Tip: Avoid overexposing whites to retain hoodie details in bright backgrounds.
Step 6: Post-Processing & Editing
Editing is where the magic happens, transforming your images into polished, high-quality product shots.
Key Editing Steps:
✔️ Remove the mannequin: Blend multiple layers in Adobe Photoshop to create a floating effect.
✔️ Refine edges: Use the Pen Tool for precise cutouts.
✔️ Color correction: Adjust white balance, contrast, and shadows for a natural look.
✔️ Background cleanup: Ensure a clean, consistent white background for eCommerce platforms.
💡 Pro Tip: Use Capture One’s tethering feature to view real-time adjustments during the shoot.
Step 7: SEO Optimization for Product Photography
To boost search visibility, follow these SEO best practices:
🔹 File Naming: Rename images with descriptive keywords (e.g., black-hoodie-ghost-mannequin.jpg).
🔹 Alt Text: Use keyword-rich alt descriptions for accessibility and Google ranking.
🔹 Image Compression: Reduce file size without compromising quality for faster loading speeds.
Conclusion: Elevate Your Brand with Ghost Mannequin Photography
Mastering ghost mannequin photography requires attention to detail, professional equipment, and expert post-processing. By following this step-by-step guide, you’ll create high-quality, 3D-effect product images that:
✅ Increase customer trust ✅ Boost conversions ✅ Improve SEO rankings
Want to take your product photography to the next level? Contact us at MyCustomFoto for professional ghost mannequin photography services tailored to your brand.
📩 Get Started Today!
